When water damage strikes your home, it can feel overwhelming. However, there are practical and affordable solutions that can help you get back on track. From evaluating the damage properly to utilizing DIY techniques, you have options. You’ll also find cost-effective materials for repairs and ways to leverage your insurance. Plus, knowing when to hire professionals can make a big difference. Let’s explore these strategies to protect your home and budget.
Key Takeaways
- Use DIY water removal techniques like mops and wet/dry vacuums to save on professional extraction costs.
- Choose budget-friendly repair materials such as drywall patches and vinyl flooring for efficient restoration.
- Apply water-resistant paint to affected areas to prevent future water damage and save on repairs.
- Document damages thoroughly with photos to support insurance claims, maximizing potential reimbursements.
- Hire reputable local professionals who offer competitive rates and specialized experience in water damage restoration.
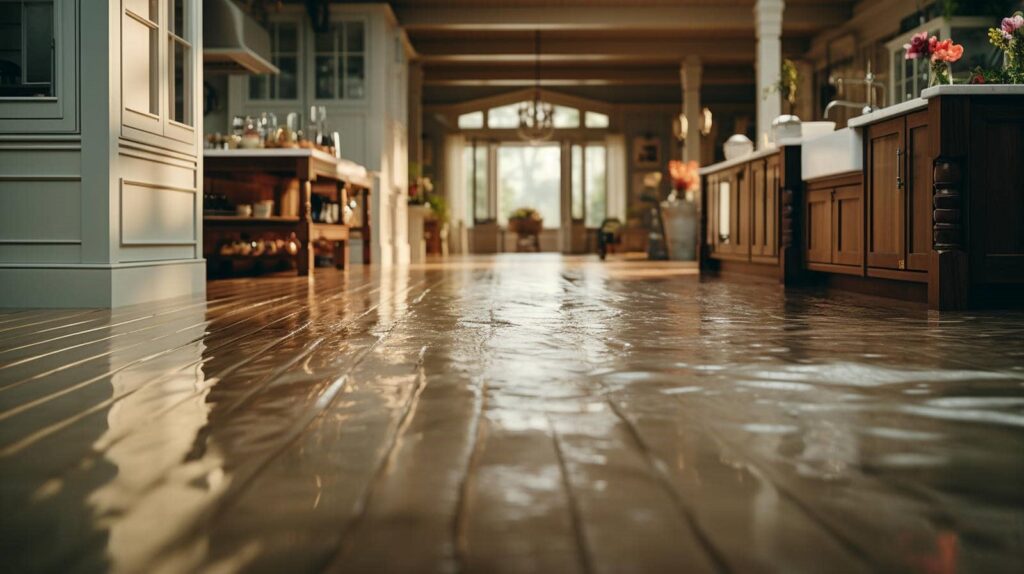
Assessing the Damage: A Step-by-Step Guide
When faced with water damage, the first step is evaluating the extent of the problem. Start your damage assessment by identifying affected areas. Check for visible signs like stains, buckling, or mold growth.
Don’t forget to inspect hidden spots like under sinks or behind appliances, as moisture can lurk there too.
Next, use moisture detection tools, such as a moisture meter, to gauge the level of saturation in walls and floors. This step’s essential for understanding how severe the damage is and how far it’s spread.
Document everything with photos and notes—this’ll help you when discussing solutions with professionals or insurance claims.
DIY Water Removal Techniques for Homeowners
While dealing with water damage can be overwhelming, you can take immediate steps to remove excess water from your home. Start by using basic water extraction methods like mops, buckets, or wet/dry vacuums to clear standing water. Focus on the most affected areas, such as basements or bathrooms, to limit further damage.
Once the water’s out, ventilate your space by opening windows and using fans to speed up drying. This is essential for preventing mold growth. If you can, remove soaked carpets and furniture to dry separately, following some home restoration tips like placing them outside in the sun.
Keep an eye on hidden areas, like behind appliances or inside walls, as moisture can linger there.
Budget-Friendly Water Damage Repair Materials
After tackling the initial water removal, the next step is repairing any damage left behind, and doing so on a budget is entirely possible. You can find budget materials that won’t break the bank while ensuring your home remains safe and cozy.
For instance, use drywall patches and joint compound for small wall repairs, as these are cost-effective solutions that are easy to apply. If flooring needs attention, consider vinyl planks or laminate options that mimic hardwood without the hefty price tag.
Don’t overlook paint; a fresh coat can work wonders, so opt for water-resistant varieties to prevent future issues.
For insulation, rigid foam boards can be an affordable alternative to traditional options. By choosing these budget-friendly materials, you’ll save money while creating a welcoming space for your family, proving that quality repairs don’t have to cost a lot.
Utilizing Insurance for Water Damage Claims
Maneuvering the process of filing a water damage claim can feel overwhelming, but understanding how to utilize your insurance effectively can make all the difference.
Follow these steps to navigate the claim process smoothly:
Review Your Insurance Policy: Familiarize yourself with coverage limits and exclusions related to water damage.
Document the Damage: Take photos and notes of the affected areas to support your claim.
Notify Your Insurer Promptly: Reach out to your insurance company as soon as possible to initiate the claim process.
Keep Records: Maintain copies of all correspondence and receipts related to repairs and expenses.
Hiring Professional Services: What to Look For
When dealing with water damage, hiring the right professional can greatly impact the outcome of your situation. Start with a reputation check; look for reviews and testimonials from previous clients. A company’s standing in the community can reveal a lot about its reliability and quality of service.
Next, inquire about service guarantees. A reputable company should offer some form of assurance that its work is effective and that it will stand by it. This shows confidence in their services and gives you peace of mind during a stressful time.
Don’t forget to ask about their experience in handling water damage specifically. A qualified technician should be familiar with the latest techniques and equipment.
Frequently Asked Questions
How Can I Prevent Future Water Damage in My Home?
You can prevent future water damage by using effective waterproofing techniques and implementing proper drainage solutions around your home. Regular maintenance and inspections will help you catch potential issues before they escalate, keeping your space safe and dry.
What Are Early Signs of Water Damage to Look For?
Nearly 14,000 people experience water damage daily. Look for early signs like stained ceilings from leaky roofs or damp spots around fixtures, indicating plumbing issues. Addressing these can save you from costly repairs later on.
Can I Use Fans to Dry Out Water-Damaged Areas?
Yes, you can use fans to dry out water-damaged areas. Fan effectiveness increases with proper positioning. Combine drying techniques like dehumidifiers for quicker results, ensuring you tackle moisture efficiently and protect your home from further damage.
Are There Any Health Risks Associated With Water Damage?
Yes, there are health risks associated with water damage. Mold growth can occur, leading to respiratory issues like asthma or allergies. It’s essential to address water damage quickly to protect your family’s health and well-being.
How Long Does It Typically Take to Dry Out Water Damage?
Typically, the drying process takes anywhere from 24 to 72 hours, depending on the severity of the moisture removal needed. Quick action can make a world of difference, so don’t hesitate to start!
Review
In the face of water damage, don’t let despair drown your spirits! With these affordable solutions, you can transform your soggy nightmare into a manageable task. By evaluating the damage, tackling DIY removal, and using budget-friendly materials, you’re not just saving money—you’re becoming the hero of your home! Plus, leveraging insurance and hiring the right pros ensures your sanctuary bounces back better than ever. Immerse yourself, roll up your sleeves, and watch your home reclaim its glory!